Cable Trays that Do Not Become Junk Drawers
A workspace-ops note on cable trays that do not become junk drawers, with attention to desk depth, setup friction, team reuse, and the small adjustments that still matter after the first week.
The instinct to hide workspace clutter often leads to the installation of a deep, opaque cable tray under the desk. While this immediately improves the visual state of the room, it creates a secondary problem: the tray quickly devolves into a suspended junk drawer. Loose adapters, discarded velcro straps, dead batteries, and tangled slack accumulate out of sight, turning routine maintenance or equipment swaps into an exercise in frustration. A functional workspace requires infrastructure that supports sustained focus and easy modifications, not just a hiding place for mess. Selecting the right cable management hardware means prioritizing accessibility, airflow, and structural discipline over the mere illusion of a clean desk.
The Architecture of Visibility
Solid metal gutters are the most common style of under-desk cable management, heavily marketed for their ability to completely obscure wires from a seated or standing position. However, this opacity is exactly what encourages poor routing habits. When you cannot see the interior of the tray, there is no psychological friction preventing you from tossing in a coiled excess cable or a spare USB hub. Over time, this enclosed space collects dust, debris, and forgotten peripherals, making it nearly impossible to trace a specific monitor cable without pulling everything out.
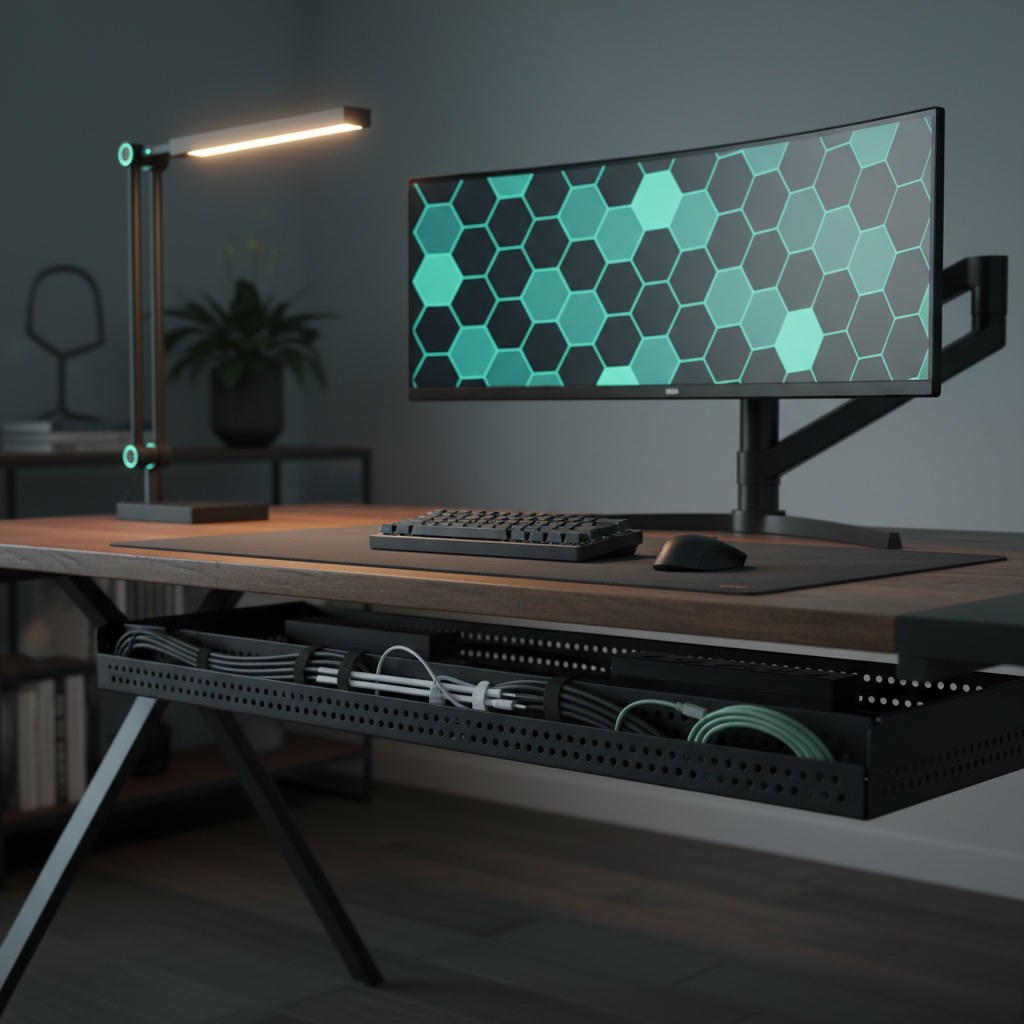
Wire grid or mesh trays offer a superior alternative for long-term workspace maintenance. By keeping the cables visible from underneath, these designs force a baseline level of routing discipline. You are less likely to abandon a tangled knot of wires when the structural framework leaves it exposed to your own scrutiny. Furthermore, grid designs provide infinite tie-down points, allowing you to anchor individual cables exactly where they need to be rather than letting them pool at the bottom of a metal trough.
The open architecture also resolves the issue of thermal management for power supplies. Modern docking stations and high-resolution monitor power bricks generate significant heat during sustained use. Placing these components inside a solid metal or plastic gutter traps the heat, potentially degrading the lifespan of the equipment. A wire mesh tray allows ambient air to circulate freely around heavy power adapters, maintaining optimal operating temperatures even during demanding rendering tasks or prolonged video conferences.
Mounting Mechanisms and Structural Integrity
The method used to attach a cable tray to your desk dictates its long-term viability. Clamp-on trays appeal to those hesitant to drill into their furniture, but they introduce unacceptable compromises for a primary workstation. The clamps inevitably interfere with monitor arm mounts, require clearance that pushes the desk away from the wall, and often shift or loosen when the desk is raised and lowered. For a stable, permanent setup, direct mounting to the underside of the work surface is the only reliable choice.
When securing a tray via direct mounting, the hardware matters as much as the tray itself. Relying on standard wood screws driven directly into MDF or particleboard desktops will eventually result in tear-out, especially if the tray holds heavy power strips and multiple adapters. The professional approach involves installing threaded brass inserts into the desktop and securing the tray with machine screws. This method distributes the load safely and allows the tray to be removed and reinstalled indefinitely without degrading the desk material.
Weight distribution is another critical factor often overlooked during installation. A fully loaded tray containing a twelve-outlet surge protector, three monitor power supplies, a laptop dock, and miles of copper wiring can easily weigh over fifteen pounds. Mounting the tray too close to the rear edge of a thinner desktop can cause bowing over time. Positioning the tray a few inches inward, aligned with the desk frame's crossbar if possible, ensures the weight is supported by the desk's primary structural geometry rather than its weakest edge.
Routing Discipline and Slack Management
A cable tray should function as a transit corridor, not a storage bin. The fundamental rule of routing is that cables should run parallel to each other, secured at regular intervals, rather than crossing over one another in a chaotic web. Hook-and-loop straps are the only acceptable fastening mechanism for this task. Plastic zip ties require tools to remove, risk slicing into cable jackets, and discourage the minor adjustments necessary when swapping out a keyboard or adding a new peripheral.
Managing cable slack is where most setups fail, turning the tray into a tangled nest. Instead of coiling excess cable into tight, overlapping loops and shoving them into the tray, employ the figure-eight method. Wrapping the slack in a loose figure-eight and securing it in the center with a strap prevents the copper cores from retaining a harsh memory coil. These managed bundles should be strapped to the exterior or the upper interior edge of the tray, keeping the main channel clear for active cable runs.
Separation of power and data cables within the tray prevents both physical entanglement and potential electromagnetic interference. While modern shielded cables are less susceptible to interference than older standards, running thick, unyielding power cords alongside delicate USB-C or DisplayPort cables makes future maintenance incredibly difficult. Dedicate the rear channel of the tray to power delivery and the front channel to data and peripherals, using the tray's grid structure to maintain a strict physical boundary between the two.
Accommodating Heavy Power Infrastructure
The foundation of under-desk cable management is the primary power strip, which dictates the layout of everything else in the tray. Dropping a standard plastic power strip loosely into the tray guarantees that plugging or unplugging a device will require two hands and a lot of frustration. The power strip must be rigidly secured to the tray itself. Using heavy-duty hook-and-loop straps to lash the surge protector to the wire grid ensures it remains stationary when you need to quickly disconnect a monitor or add a charger.
Large power bricks present a unique spatial challenge. They are heavy, awkwardly shaped, and prone to sliding around if left unsecured. Rather than letting them rest on the bottom of the tray where they consume valuable routing space, suspend them. By strapping power bricks to the underside of the desk surface just above the tray, or vertically against the back wall of the tray, you free up the primary channel for cables. This approach also isolates their heat output from the rest of the wiring.
When positioning the power strip and bricks, accessibility must be the primary consideration. You will inevitably need to plug in a temporary device, such as a battery charger or a testing peripheral. Orienting the power strip so that the outlets face outward or upward, rather than being buried beneath a layer of data cables, ensures you can utilize the infrastructure without dismantling it. A well-designed tray setup anticipates the need for future additions and leaves physical space to accommodate them.
The Standing Desk Variable
Height-adjustable desks introduce dynamic movement into cable management, fundamentally altering how a tray must perform. When a desk transitions from a seated to a standing position, the entire under-desk infrastructure moves with it. The cable tray must manage all static connections between devices on the desk, ensuring that no tension is applied to the ports of your monitors or computer. If the tray is properly utilized, the only cable that should ever move relative to the floor is the single primary power cord connecting the surge protector to the wall outlet.
This single umbilical cord requires careful planning to prevent snags or disconnections. The tray must have smooth, open ends that allow the thick power cable to exit without bending at a sharp angle. Securing the power cord to the desk leg with a loose guide loop ensures it tracks predictably downward as the desk lowers, rather than pooling erratically on the floor where it could be crushed by the desk feet or caught in the lifting mechanism.
Finally, the placement of the tray must account for the desk's crossbars and motor housings. Many standing desks feature a central rotating shaft or bulky motor enclosures near the legs. The cable tray must be measured and mounted to avoid interfering with these moving parts. A tray that rubs against a motor housing will generate noise, scratch the hardware, and potentially cause the desk's anti-collision sensors to trigger falsely. Precise positioning ensures the tray operates silently and safely within the mechanical constraints of the desk frame.
Decision checklist
- Verify the tray utilizes an open wire grid or mesh construction to prevent dust accumulation and allow for infinite tie-down points.
- Ensure the internal depth is at least four inches to comfortably house a heavy-duty surge protector and large monitor power bricks.
- Confirm the mounting hardware relies on machine screws and threaded inserts rather than temporary C-clamps or adhesive strips.
- Check for open or low-profile end caps that permit thick power cables to exit the tray without exceeding their minimum bend radius.
- Source a roll of double-sided hook-and-loop strapping to secure cables, strictly avoiding the use of single-use plastic zip ties.
Who should skip this
Professionals operating a minimalist setup consisting solely of a laptop and a single USB-C monitor that provides power delivery should bypass heavy-duty cable trays entirely. In these streamlined environments, the bulk and installation effort of a dedicated tray far outweigh the benefits. Instead, a few strategically placed adhesive cable clips or a minimal under-desk dock will sufficiently manage the single power cord and peripheral connection, maintaining a clean aesthetic without unnecessary infrastructure.
Maintenance note
A well-implemented cable tray requires minimal but consistent upkeep to prevent degradation into a junk drawer. Every six months, use compressed air to clear any light dust from the wire grid and power supply vents. During this check, inspect all hook-and-loop straps to ensure they remain secure, and physically trace your primary data cables to confirm they haven't been pulled taut by desk movement. Remove any abandoned cables from retired peripherals immediately, resisting the urge to leave them in the tray for hypothetical future use.
The Connected Desk operates independently, and our editorial recommendations are based entirely on rigorous evaluation of workspace hardware. We may earn a commission from purchases made through links on this page, which funds our ongoing research and technical analysis.
FAQ
How far from the rear edge of the desk should a cable tray be mounted?
Mount the tray at least two to three inches inward from the rear edge. This provides adequate clearance for monitor arm clamps and allows cables to drop down from the desk surface without being pinched against the wall.
Is it safe to place a high-capacity surge protector directly inside the tray?
Yes, provided the tray has an open wire design to allow for heat dissipation. The surge protector must be firmly strapped to the tray structure to prevent movement when plugging or unplugging devices.
What is the correct way to handle cables that are significantly longer than needed?
Do not coil them tightly or stuff them loosely into the tray. Wrap the excess length in a loose figure-eight pattern to prevent memory coil damage, secure the bundle in the middle with a hook-and-loop strap, and anchor it to the side of the tray.
How do I manage the main power cord on a height-adjustable desk?
Route all desk components into a single surge protector mounted in the tray, leaving only one main power cord dropping to the floor. Use a flexible cable spine or guide loops attached to the desk leg to control this umbilical cord as the desk raises and lowers.